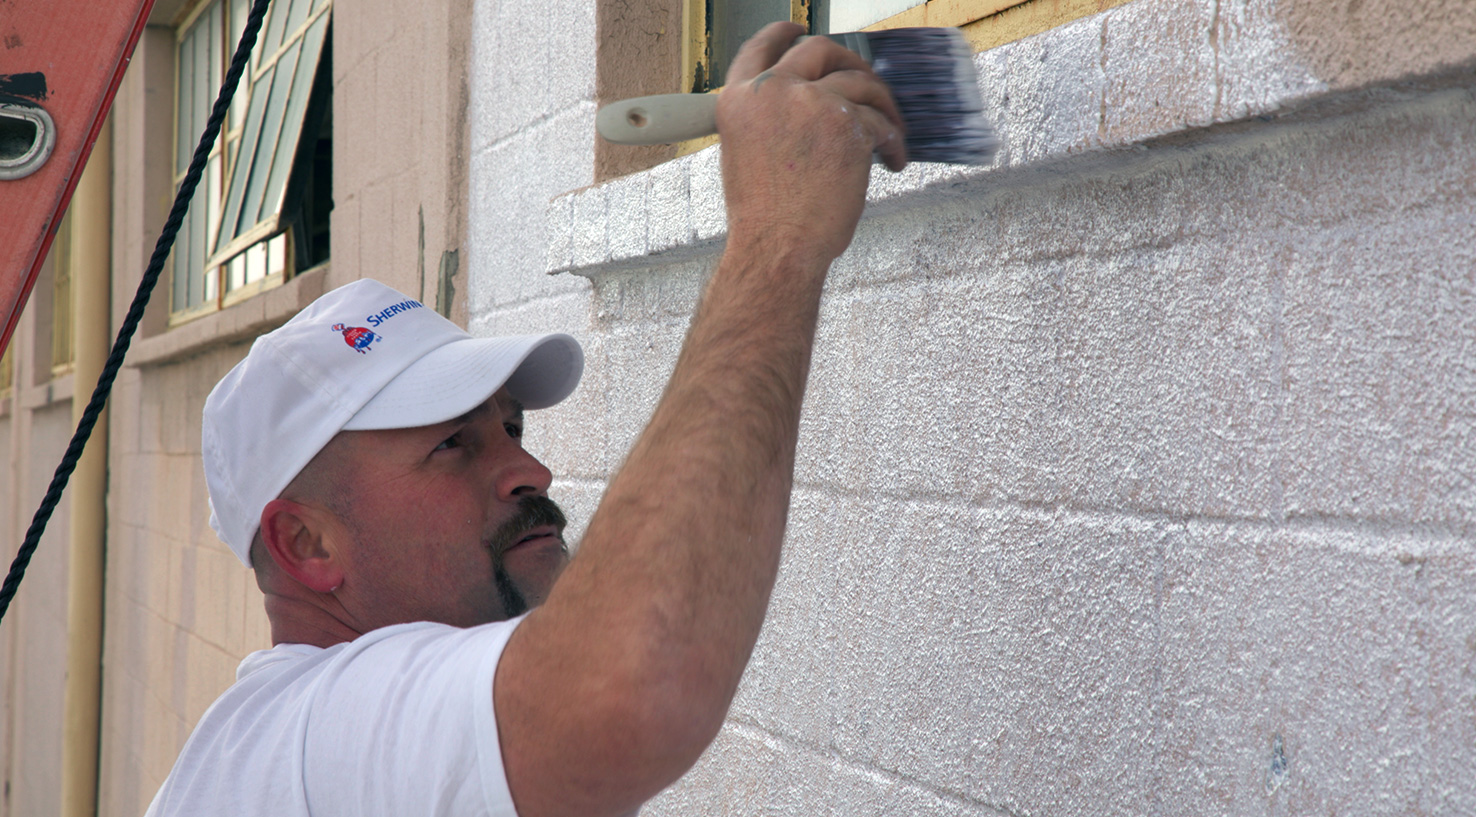
The time is right for exterior painting, especially with interior painting demand down due to COVID-19. If you’re not an exterior specialist, this article will give you the building blocks to elevate your outdoor painting game, from proper surface prep and when to prime to topcoat sheen, applicator options and cleanup.
First, be safe on the job
A lot of exterior painting work is done from heights, so it’s a good idea to inspect ladders daily, set them properly, and follow safe ladder practices. Make sure any scaffolding was installed by a qualified person. You will also want to know when to use fall protection and how to use it properly.
According to the Occupational Safety and Health Administration (OSHA), falls from portable ladders are one of the leading causes of occupational fatalities and injuries. Follow OSHA’s guidelines for ladder safety and scaffold use to help keep your workers safe.
You’ll also want to communicate to your crew the importance of following your local guidelines designed to keep us safe during the COVID-19 emergency. This includes washing hands often, not touching faces, not shaking hands and observing the six-foot social distancing recommendations, both with customers and fellow workers. Be sure to stock up on the supplies your crews will need to stay safe on the job – hand soap, hand sanitizer, cleaning agents, disposable wipes, tissues, etc.
Do the proper surface prep
Prep is the key to good-looking, long-lasting exterior results. A properly prepared surface is clean, dry, sound and dull. Cleaning the surface with a pressure washer might be a good starting point. There are a number of types of pressure washers designed for different applications.
Depending on the substrate and weather, you may need to allow at least 48 hours of drying before priming or topcoating. If it has rained or the humidity remains high, you may need to wait longer. Porous surfaces also may need longer to dry out before painting.
There are other common problems that tend to arise on exterior jobs. Look around the house for any soft or rotting wood, especially around windows and doors. You’ll need to replace it with new wood prior to painting. You’ll also want to fill cracks and holes.
“Moisture is often a problem, and is the culprit in many cases of exterior peeling,” says Rick Watson, director of Product Information and Technical Services at Sherwin-Williams and Ask Your ProPartner™ columnist for PPC magazine. “It’s important to use a good quality caulk to fill gaps around windows and doors, joints in siding and trim boards, and anywhere moisture could get into the end-grain wood.”
However, you also need to make sure that moisture generated inside the house has a way to escape, he says. The best way to allow a house to breathe is with gable, roof, and eave vents.
Training modules on surface prep and many more subjects are available in both English and Spanish at paintprotraining.com.
Understand the hazards
Structures built before 1978 may contain lead, and the removal of old paint by sanding, scraping or other means may generate dust or debris that contain lead. The Lead Renovation, Repair and Painting Rule (RRP) requires that contractors be certified to work on structures built before 1978. This includes performing renovation, repair, and painting projects that disturb lead-based paint in homes, apartments, child-occupied facilities such as schools and day-care centers, non-profit buildings, government buildings and hospitals.
Contractors must register with the Environmental Protection Agency (EPA) and pay a fee to become an EPA Lead-Safe Certified firm. This requirement helps to ensure the training of individuals and the use of lead-safe work practices.
“Getting lead-safe certified is the right thing to do for renovation contractors, their customers, and their employees, and especially for children who spend time in or near spaces that are being renovated,” says Jim Jones of the EPA’s Office of Chemical Safety and Pollution Prevention. Get more details on the RRP Rule at the EPA website or by calling the National Lead Information Center at 1-800-424-LEAD (5323).
Be ready to prime
You may not need a primer when painting on surfaces that are clean, dry, dull and in sound shape, and painting over similar types of existing finishes (such as latex over latex).
“In many cases, though, the best quality finish will be achieved with the use of the appropriate primer, so do it right the first time and get the nest quality finish your customers demand,” Watson says.
Primers act as an intermediary between the substrate and the topcoat. Good ones seal, hide and bind to render the surface more uniform. This, in turn, allows the topcoat to get a better grip on the primer surface and ultimately results in better staying power.
For instance, when an enamel topcoat is applied to a primed exterior door, the paint actually is not being applied to the door but rather to the primer. The primer makes a possibly difficult-to-coat substrate more accepting for the topcoat, resulting in a longer-lasting, smoother finish.
Modern research and development has led to new primer technologies – products that not only provide the basics but attack specific problems, such as water damage, tannin bleed, graffiti, and efflorescence on masonry surfaces.
Know which paint to use when
Higher quality exterior paint is specifically formulated to provide color and gloss retention, mildew resistance and the flexibility to withstand expansion and contraction due to weather. The type of paint you’ll use depends on the kind of surface to be painted – wood, aluminum, vinyl, stucco or masonry – and the type of finish you want.
When painting vinyl siding, for example, look for products that offer VinylSafe® paint colors, which allow you the freedom to choose from 100 color options, including a limited selection of darker colors formulated to resist warping or buckling when applied to a sound, stable vinyl substrate.
Exterior paint comes in a full range of sheens. A flat or matte finish, for example, softens the look of an exterior and helps hide surface blemishes. Flat finishes are ideal for body siding. With its slight gloss, a satin finish offers the benefits of a flat finish with added cleanability. It works great for the entire exterior and surfaces that need routine cleaning .
Gloss offers a lustrous, durable finish perfect for areas that require frequent cleaning like doors, trim, window frames, lamp posts, gutters, downspouts and railings. A high gloss sheen can provide a harder and shiny finish, excellent for front doors , accent trim and decorative fixtures . Gloss finishes, however, may accentuate surface imperfections.
There are many quality exterior topcoat paints to choose from, depending on the project budget and substrate and environmental conditions. For a good overview, see our story The Best Coatings for Your Exterior Painting Projects.
Application choices
Quality also matters when it comes to applicators. A good-quality brush, for example, holds more paint and applies it more evenly, which will require less effort, save time and help you give your customer the best result. Among the factors to consider are brush size, style and bristle type. For information about how a brush can help you complete jobs faster, read our story A Brush Built with Speed.
Rollers can work well when painting large at surfaces or concrete and masonry substrates like stucco and brick. If the surface is porous or textured, use a heavy-nap roller cover (1/2-inch or more). Use a 1/4- inch nap to maximize sheen on a smoother surface. You can get more recommendations for brushes and rollers by reviewing the Exterior paint section of our Paint Selection Guide.
Spraying is an excellent exterior application method and can help you get the job done faster. Here, the size of the project will be a factor. If the job is small, the setup time (masking windows and landscaping, machine setup, cleanup and maintenance) may not be repaid by the amount of time saved by spraying.
Conventional sprayers, such as HVLP or high-volume, low-pressure sprayers, use compressed air as the pressurizing agent to deliver the paint. Airless sprayers pump the paint directly.
For some good ideas on how to pick the right spray equipment for your job, see our story 7 Questions to Ask Before Buying a Sprayer.
A final note: It may seem obvious, but when you’re painting outside, you want to start at the top and work down. Even the best painters using the best paints have drips, splatter and occasional spills.
Clean it up
When the job is finished, clean the paint from all application tools, ladders and other equipment. As a professional painter you should also consider ways to limit paint waste. You might also find opportunities to donate paint. If you find it necessary to dispose of leftover paint, consult your local city or environmental regulatory agency first for guidance on disposal options. Do not pour paint down a drain or into a storm sewer.
Depending on where you live, you may be able to recycle empty paint cans in your curbside recycling program. If not, they should be disposed of in the trash. Check with your local recycling or trash services to see what is allowed. In most places, putting any liquids in the trash or recycling bins is prohibited. So, any cans you recycle or dispose of must be truly empty, and the lid should be removed so that trash collectors can see that they are empty.
Recycling leftover, unwanted paint is an option in some areas. For more information, visit paintcare.org or check with your local Sherwin-Williams store.
Helpful sources for more exterior painting info
- Brush and roller cover selection guide
- Paint Selection Guide
- Ladders, scaffolds and climbing equipment
- Caulks, sealants and the tools to apply them
- Purdy® application and surface prep tools
- 3M™ tape and masking systems, and patching and repair products
For a complete guide to exterior coatings, with data sheets, ratings, customer reviews and more, please visit the Sherwin-Williams contractor website.


